m (“Number”) |
m (Numbr) |
||
| Line 207: | Line 207: | ||
|+ |
|+ |
||
|- |
|- |
||
| + | !<center>Number</center> |
||
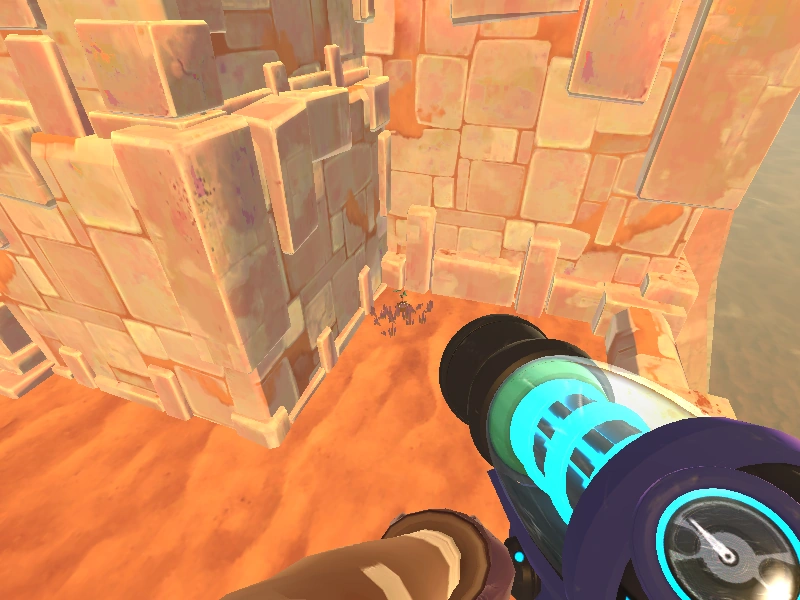
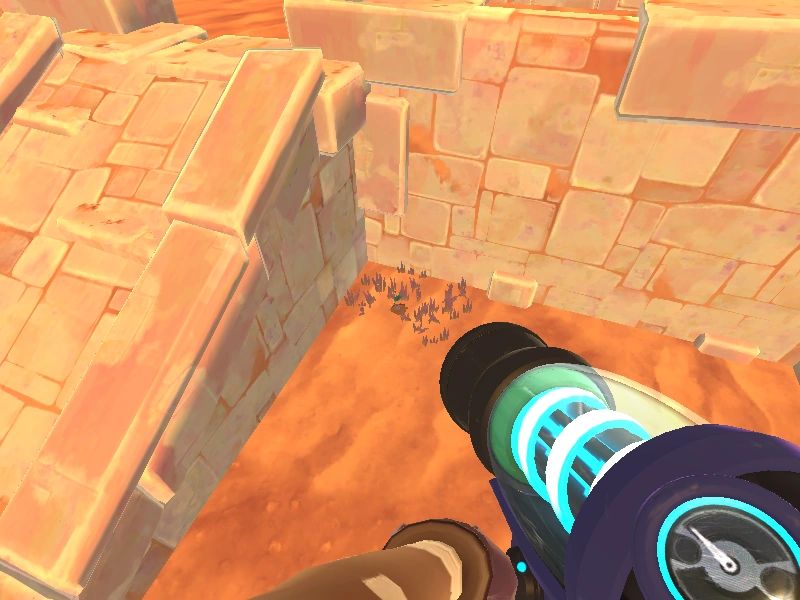
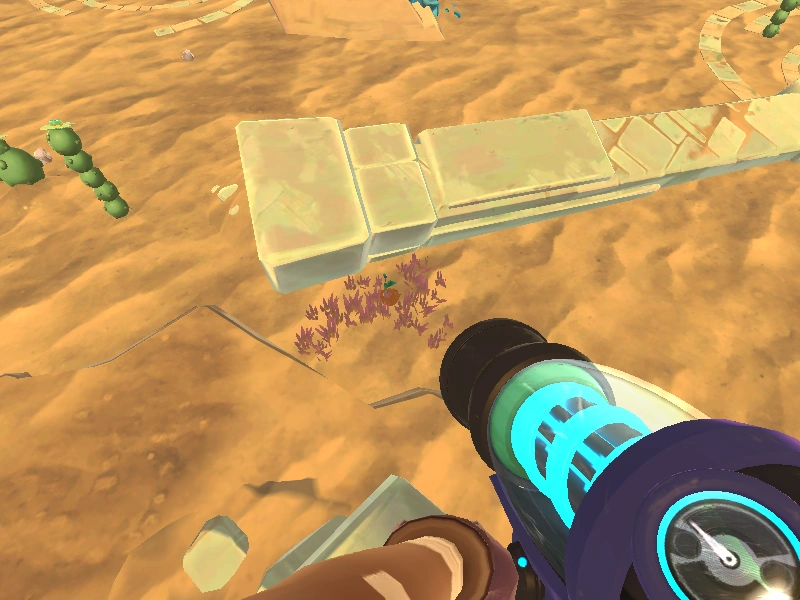
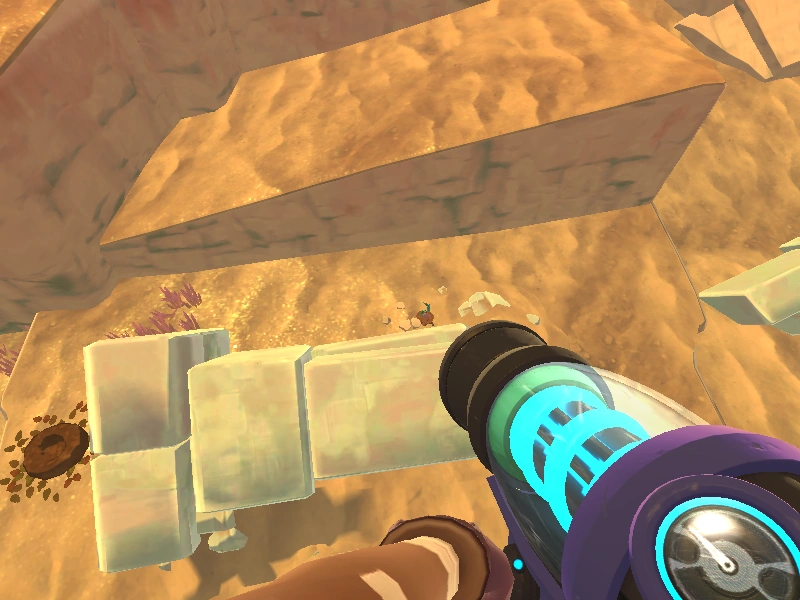
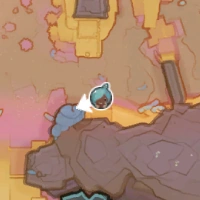
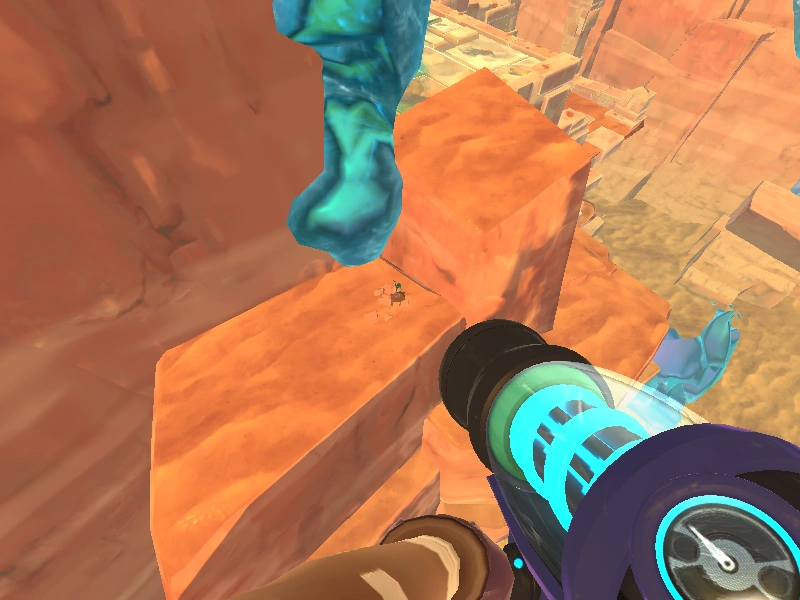
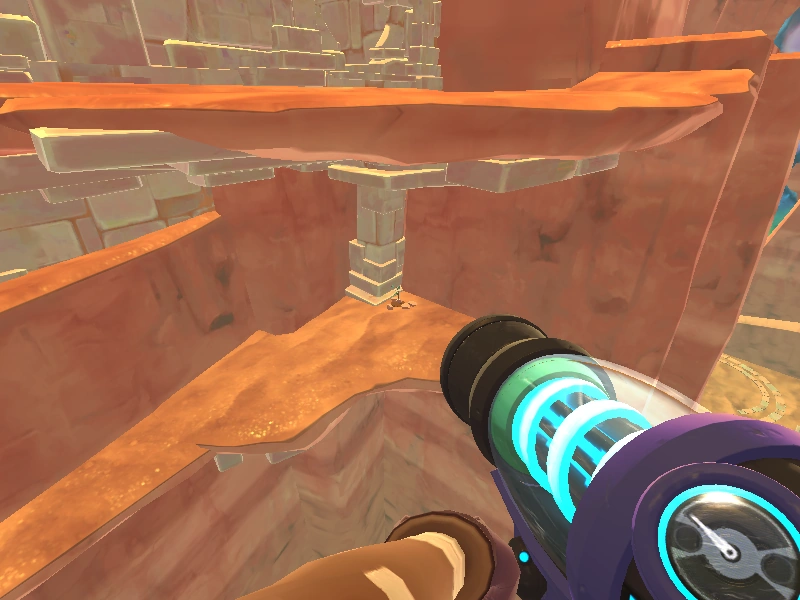
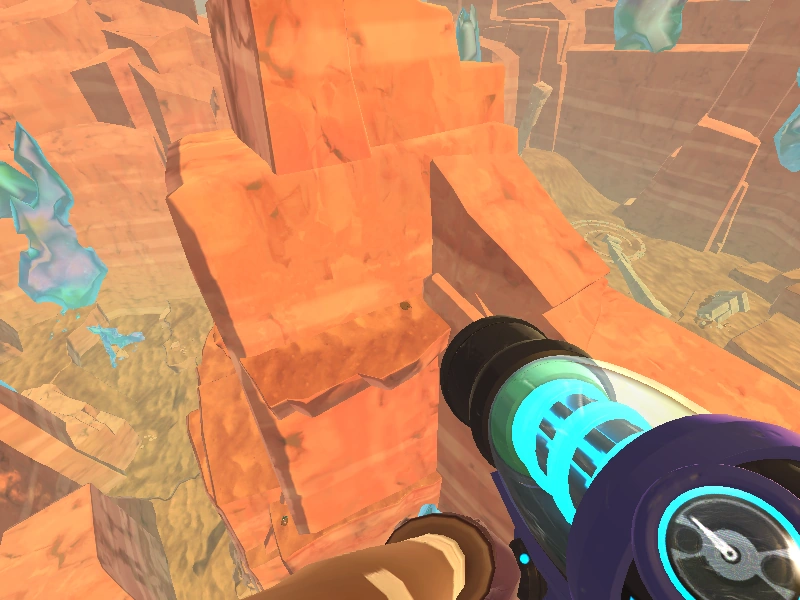
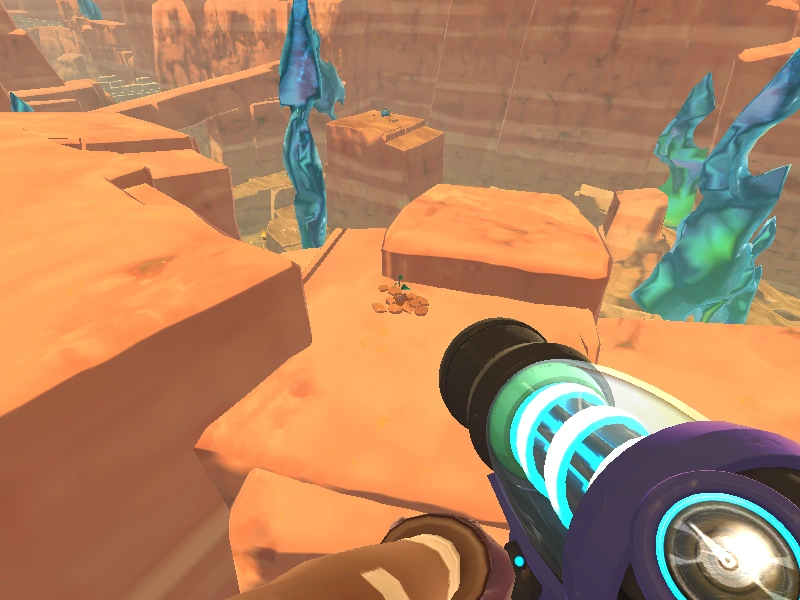
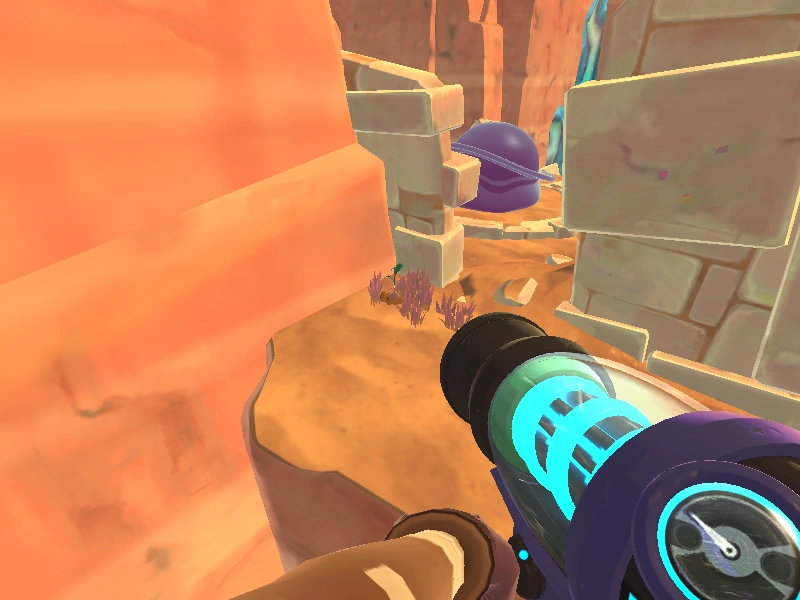
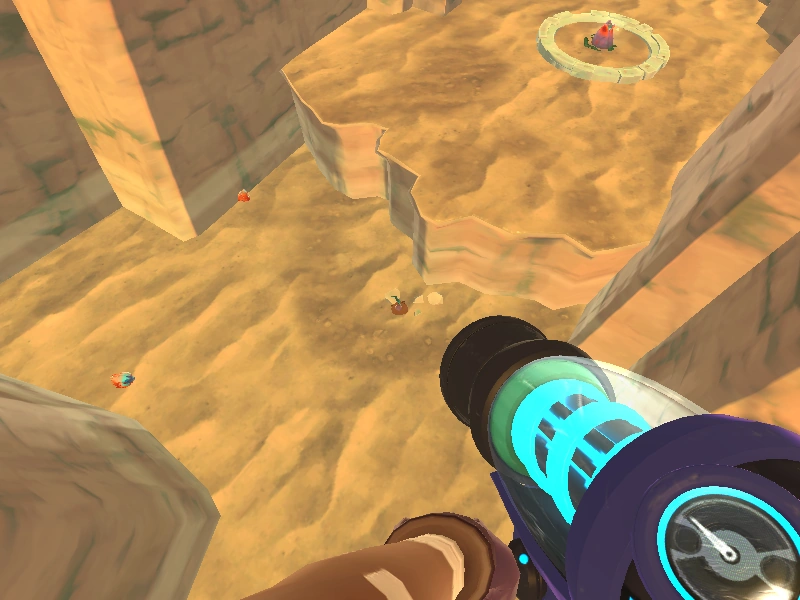
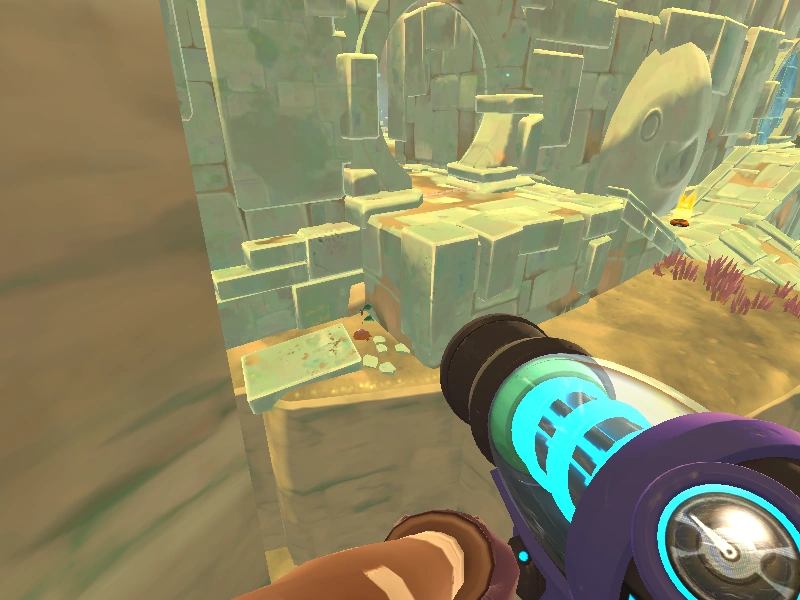
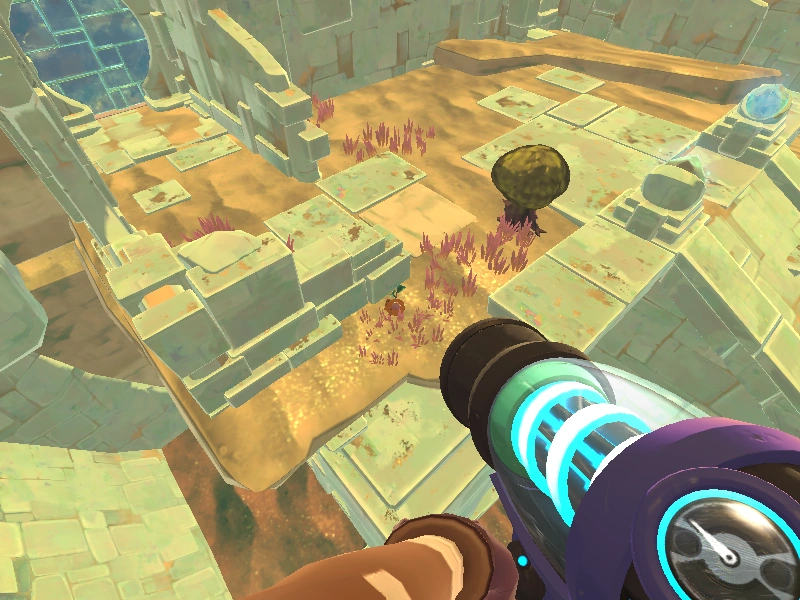
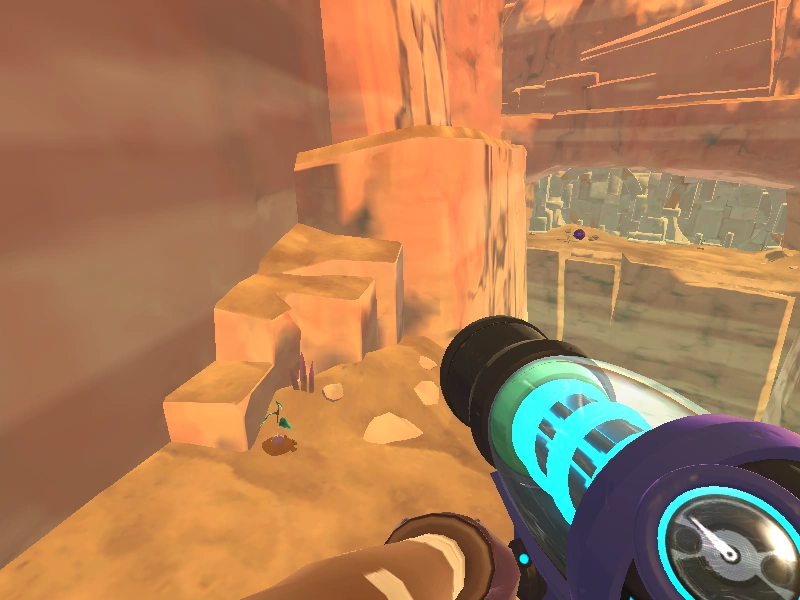
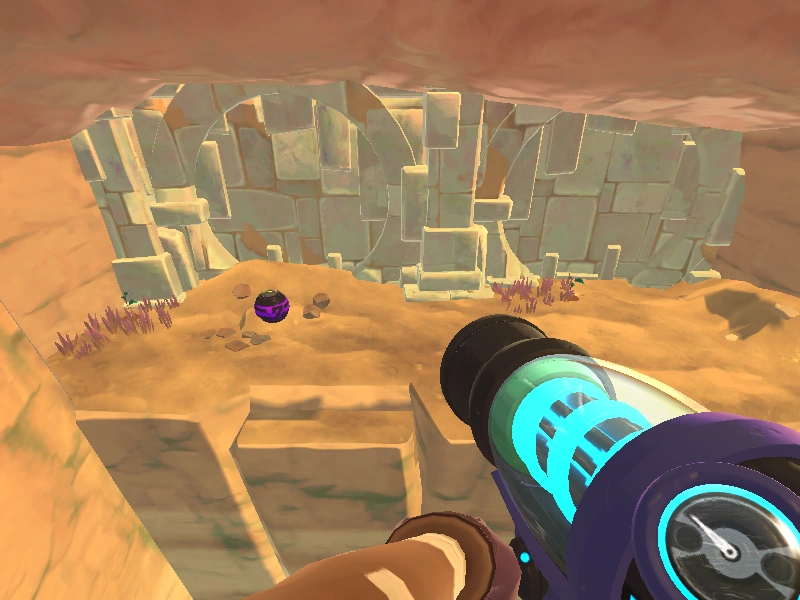
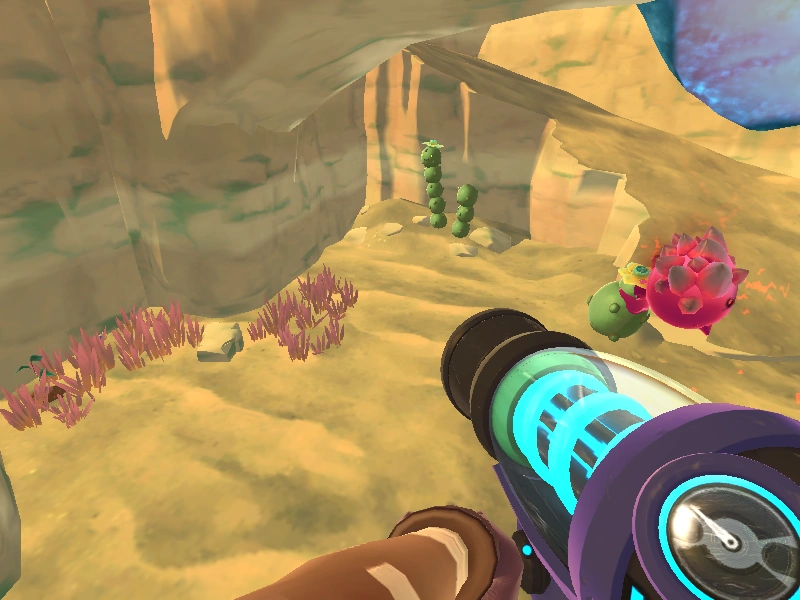
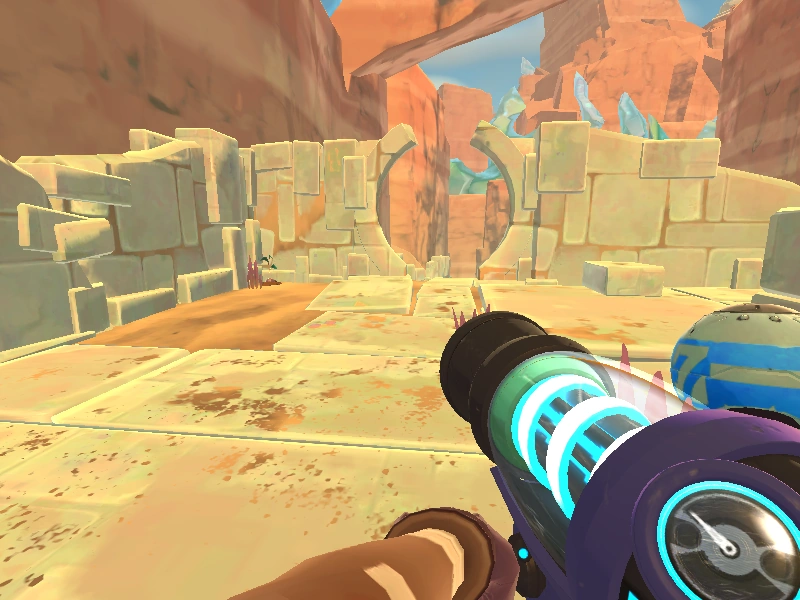
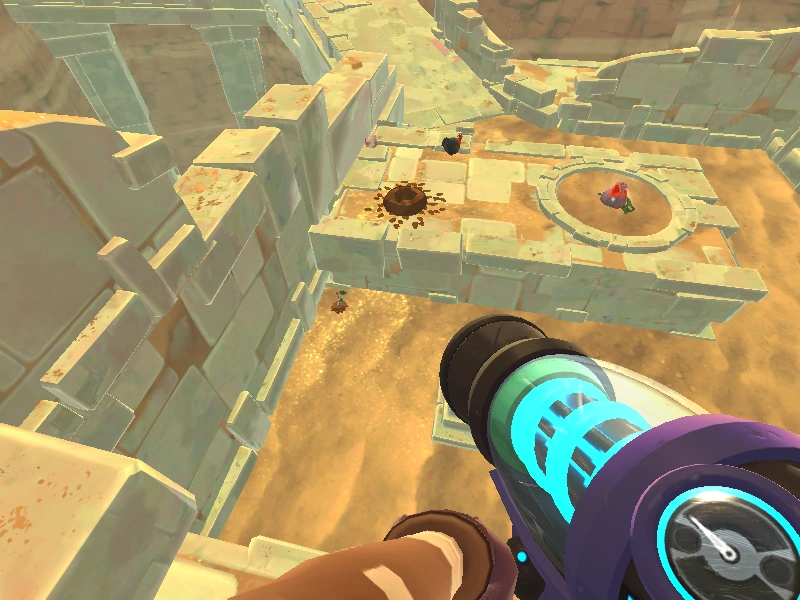
!<center>In-game screenshot</center> |
!<center>In-game screenshot</center> |
||
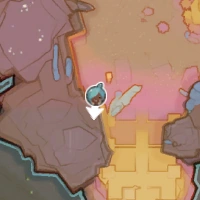
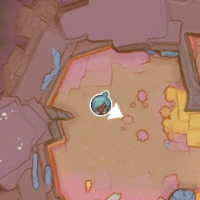
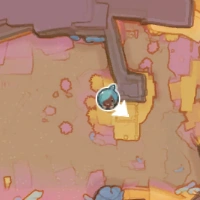
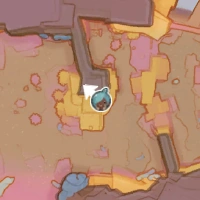
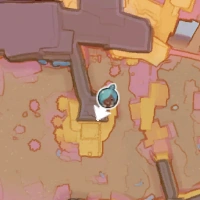
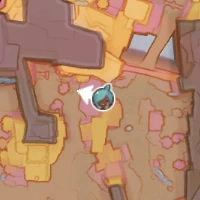
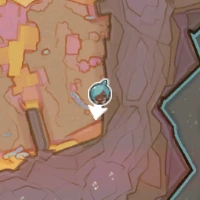
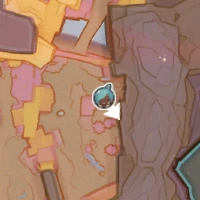
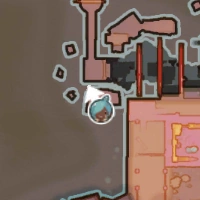
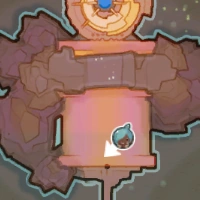
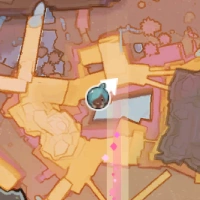
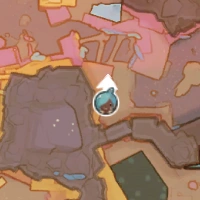
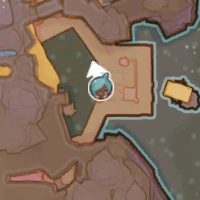
!<center>Map</center> |
!<center>Map</center> |
||
Revision as of 15:54, 8 March 2018

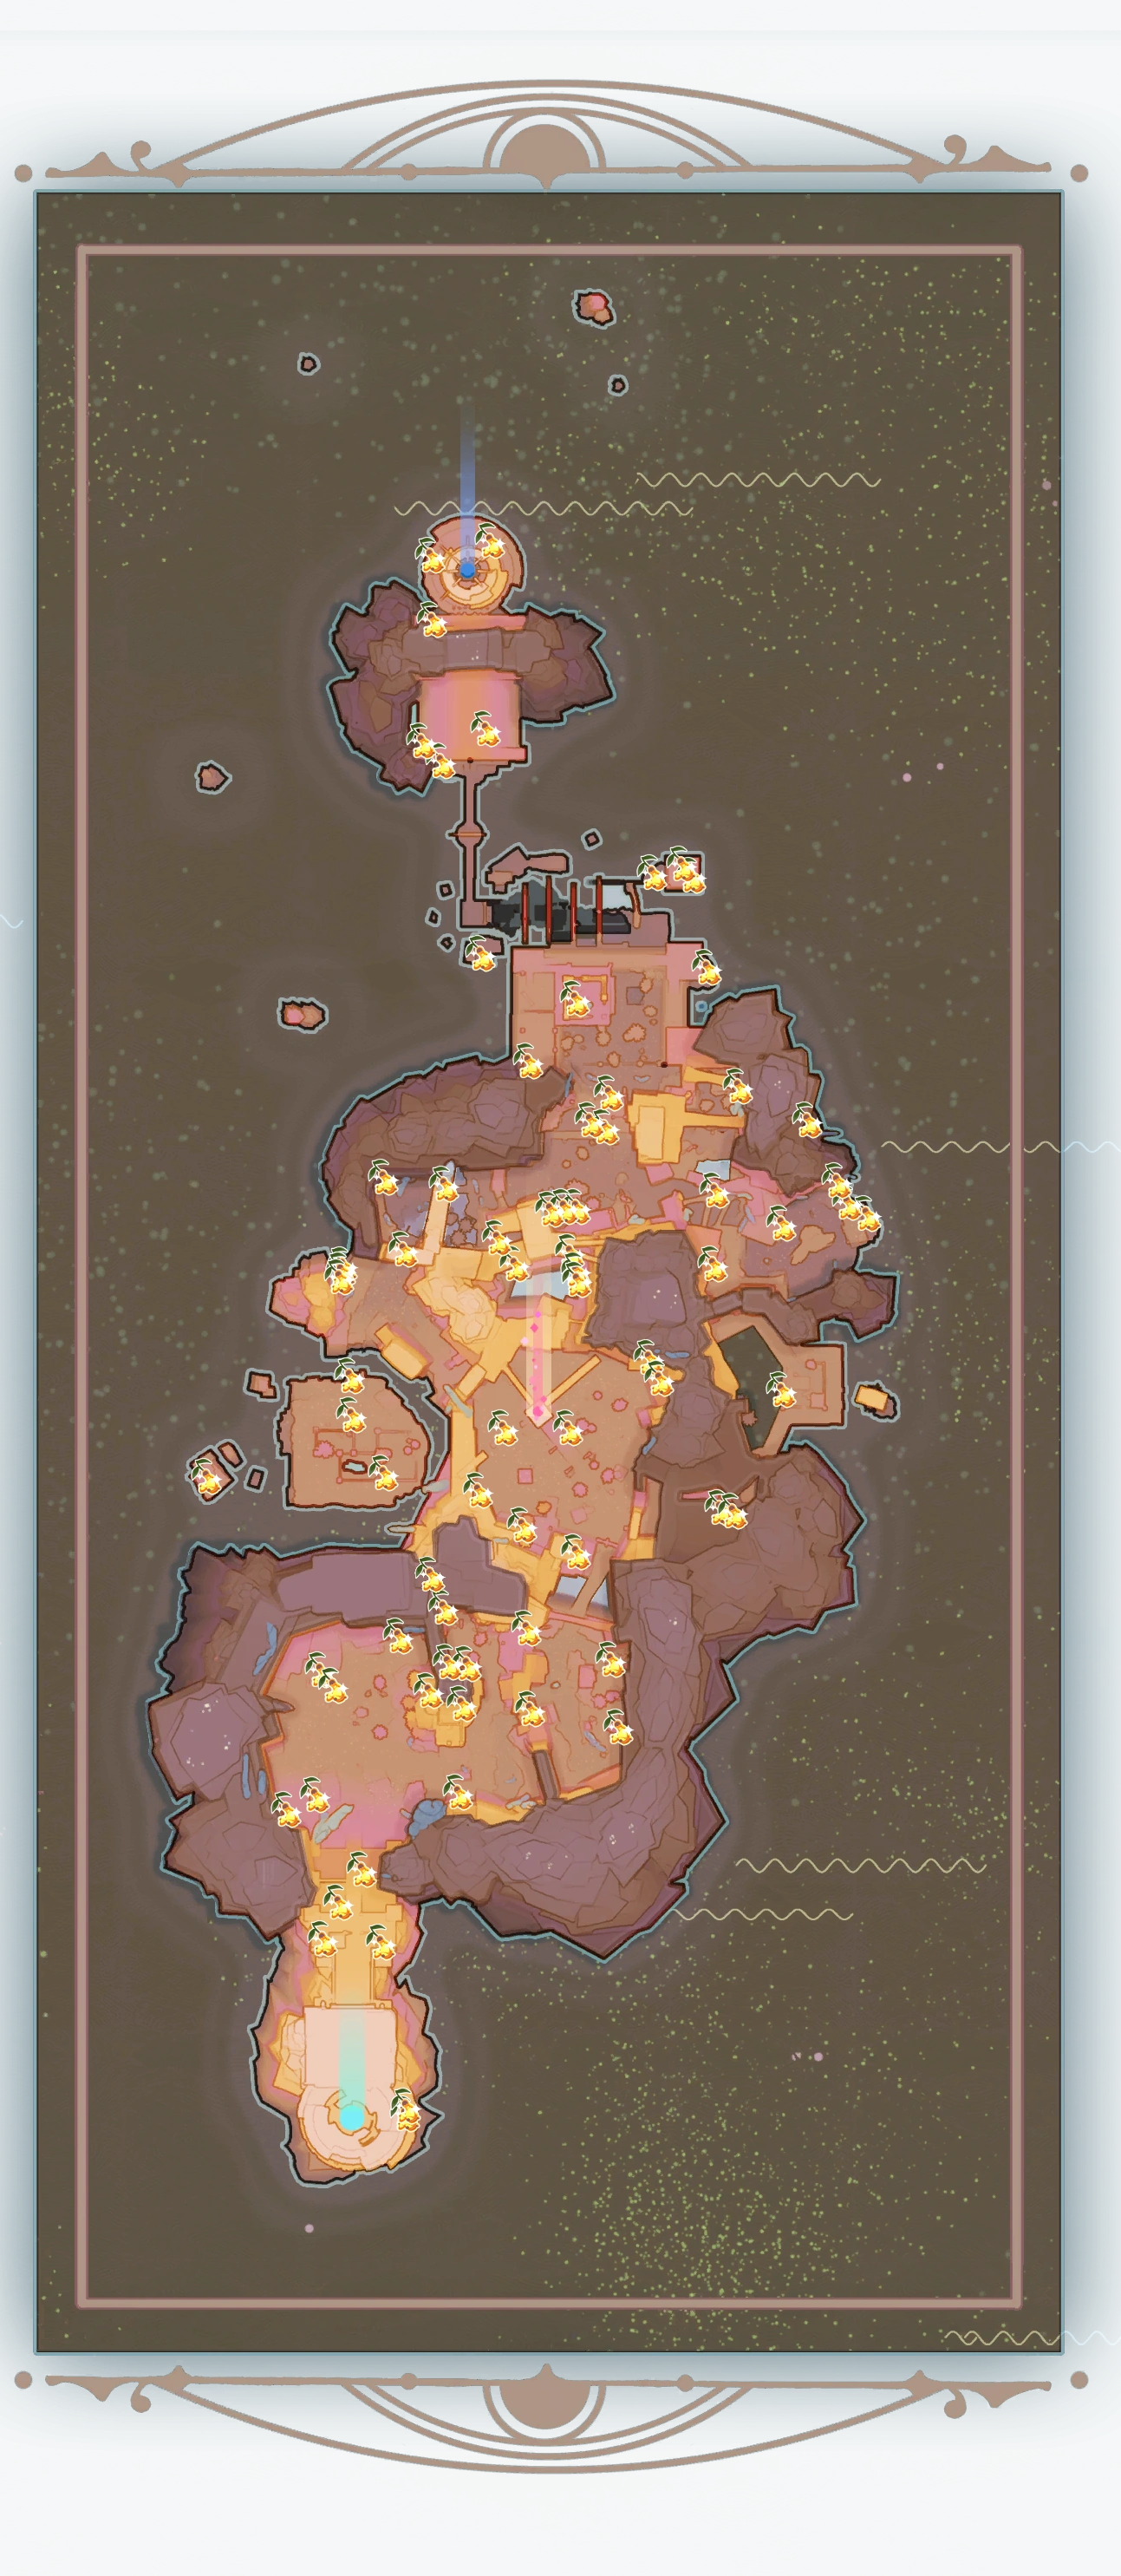
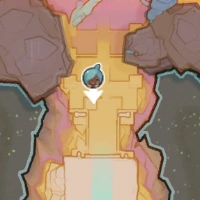
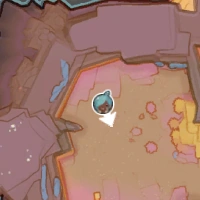
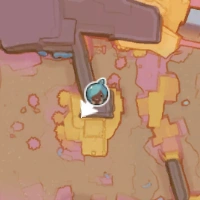
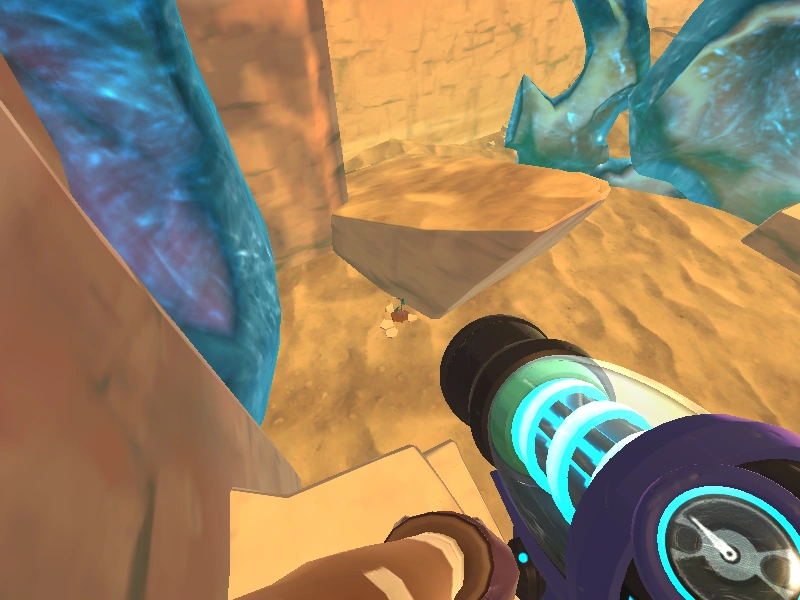
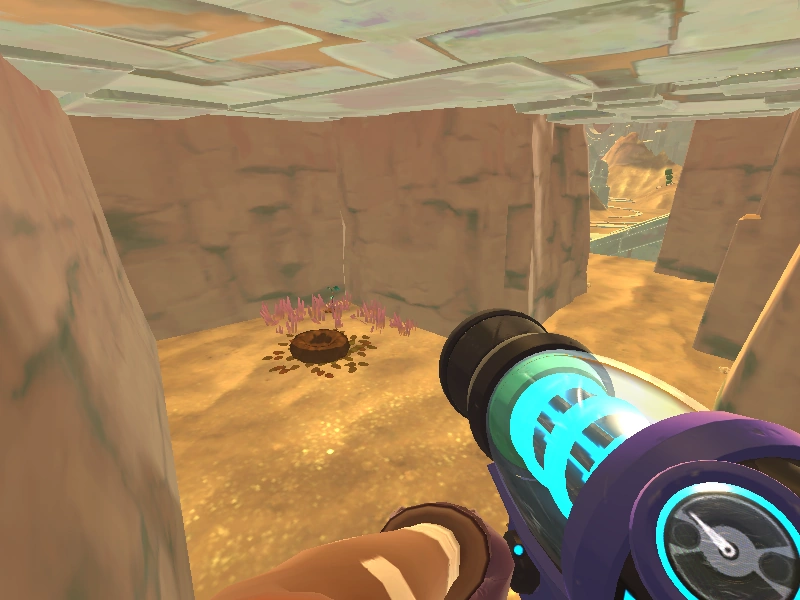
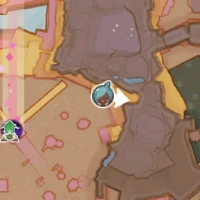
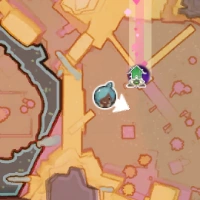
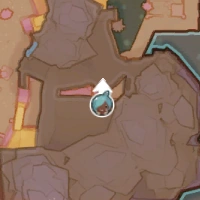
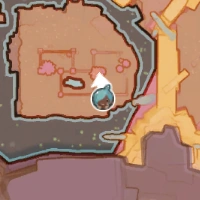
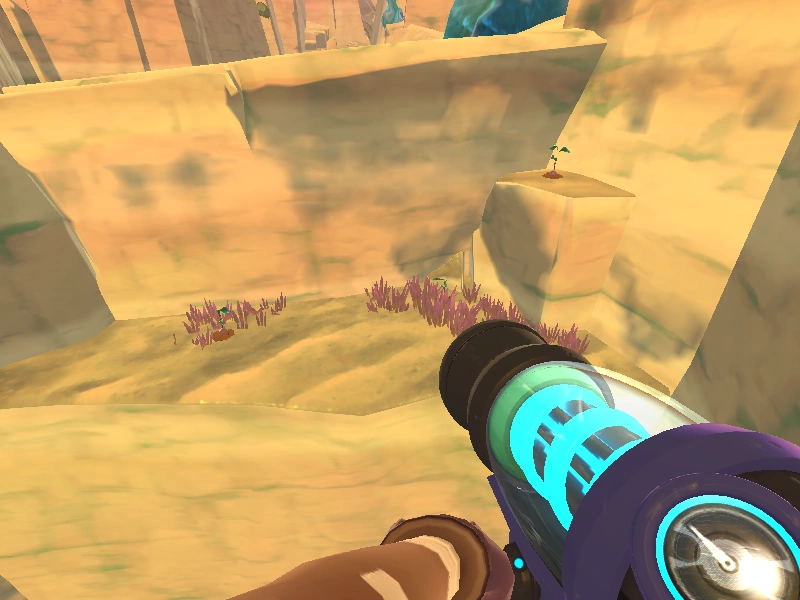
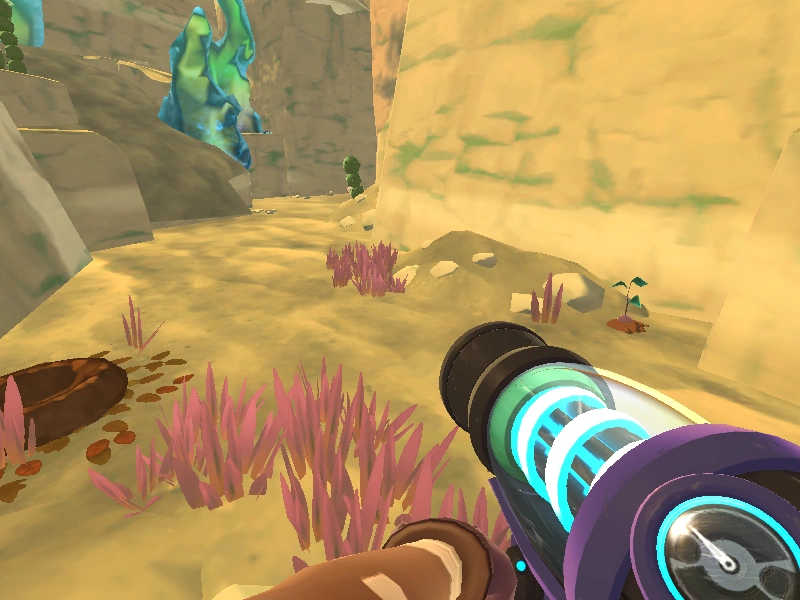
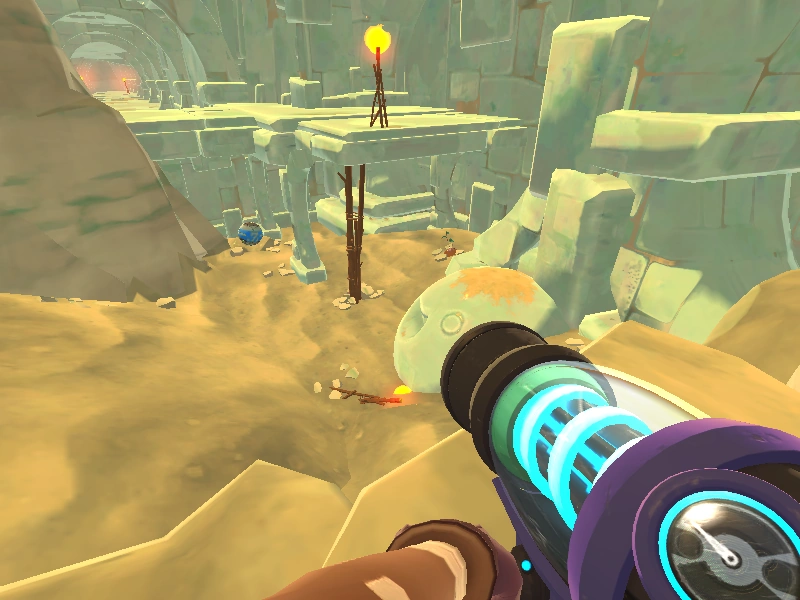
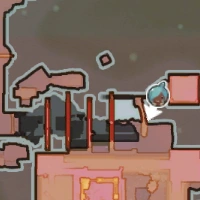
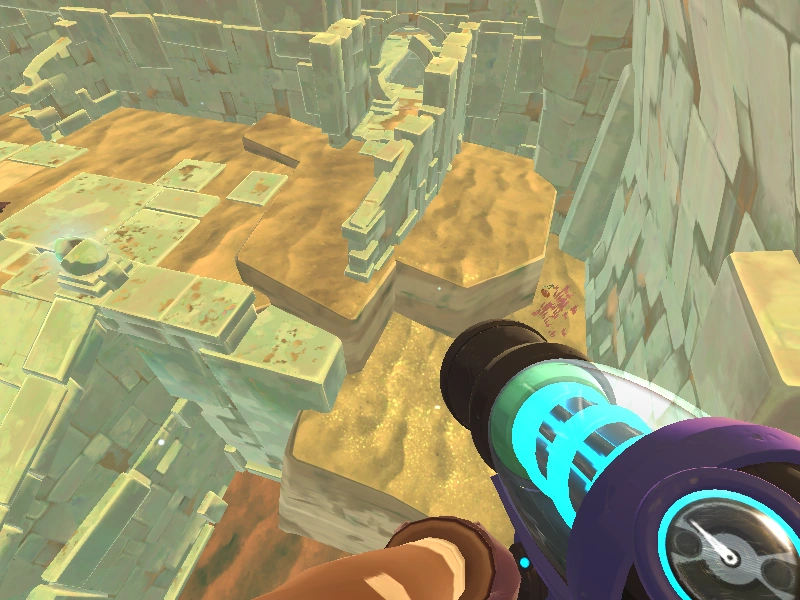
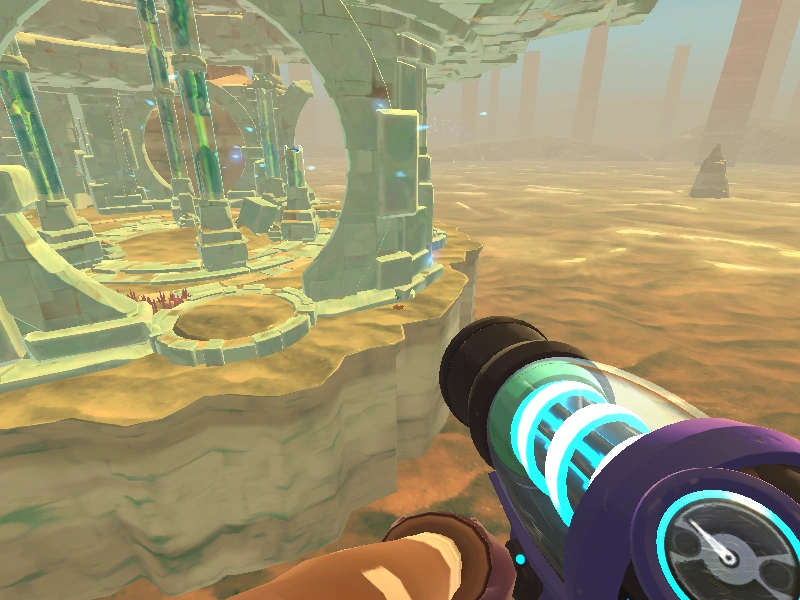
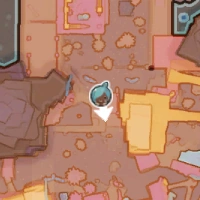
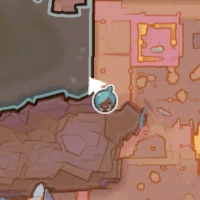
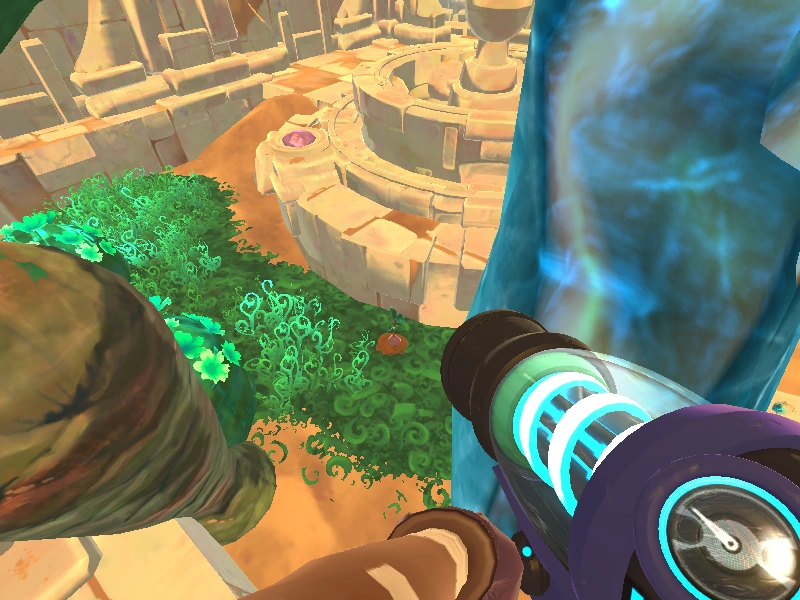
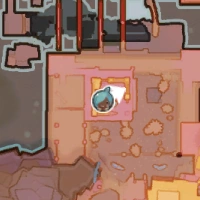
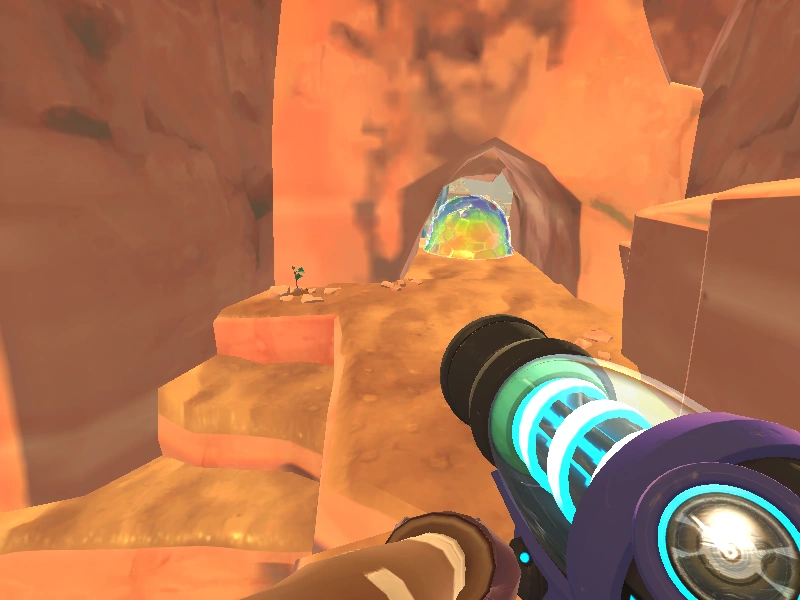
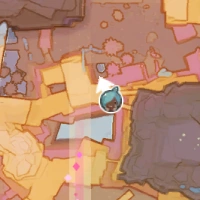
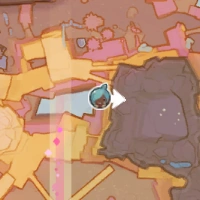
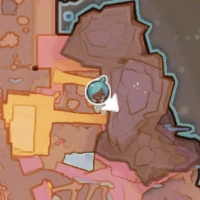
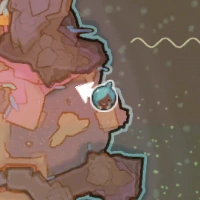
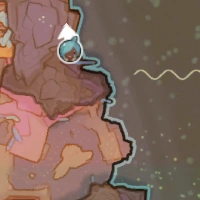
There are 74 possible locations where the Gilded Ginger can spawn in a day.
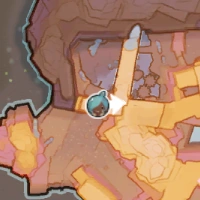
Since the in-game map is very simplistic prior to being unlocked using Map Data Nodes and this page uses fully-unlocked maps to pinpoint locations, it is recommended to activate the Desert's Map node first before proceeding.
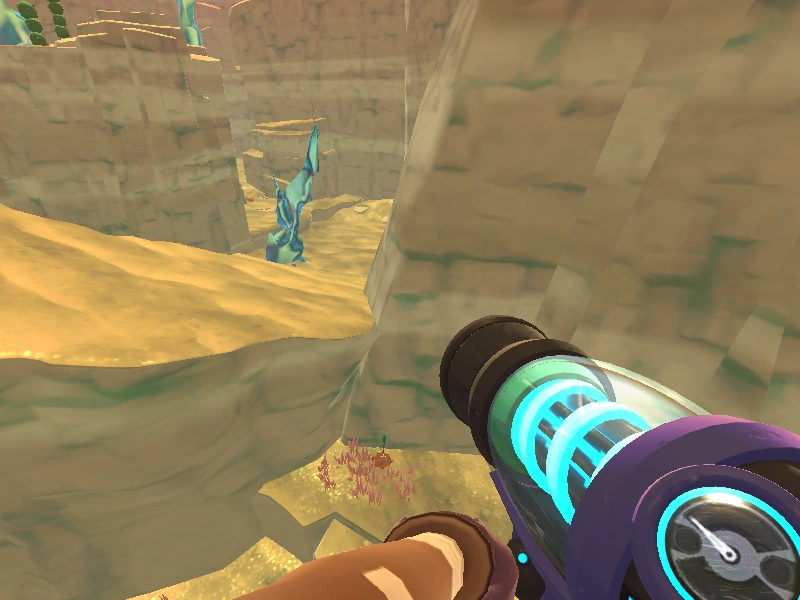
Note that some images may have multiple Gilded Gingers to showcase that a single location has multiple spawn points.
Only one will appear in that location at a time under normal circumstances.
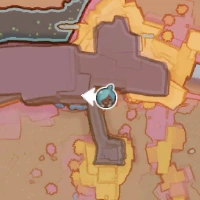
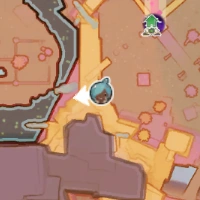
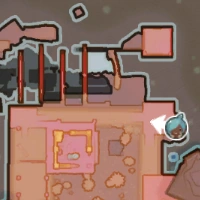
Map
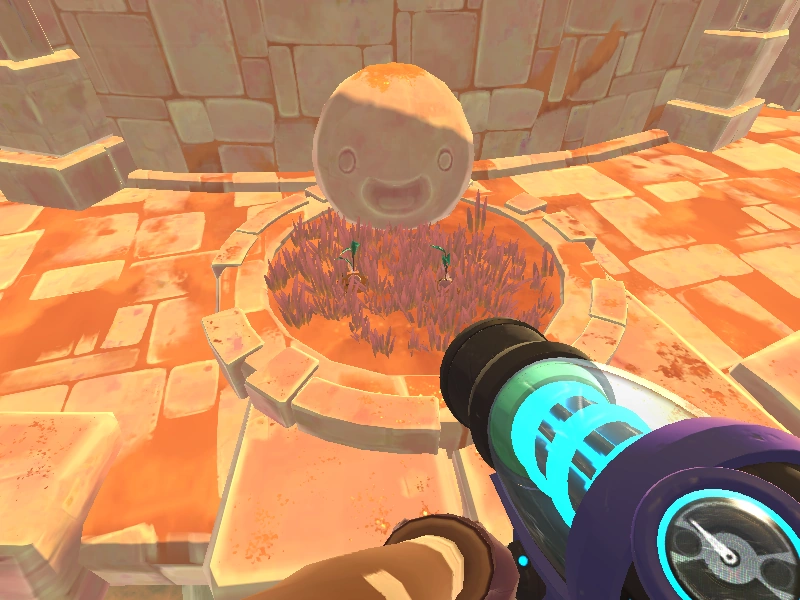
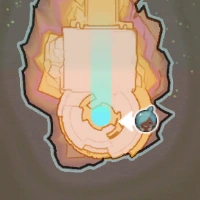
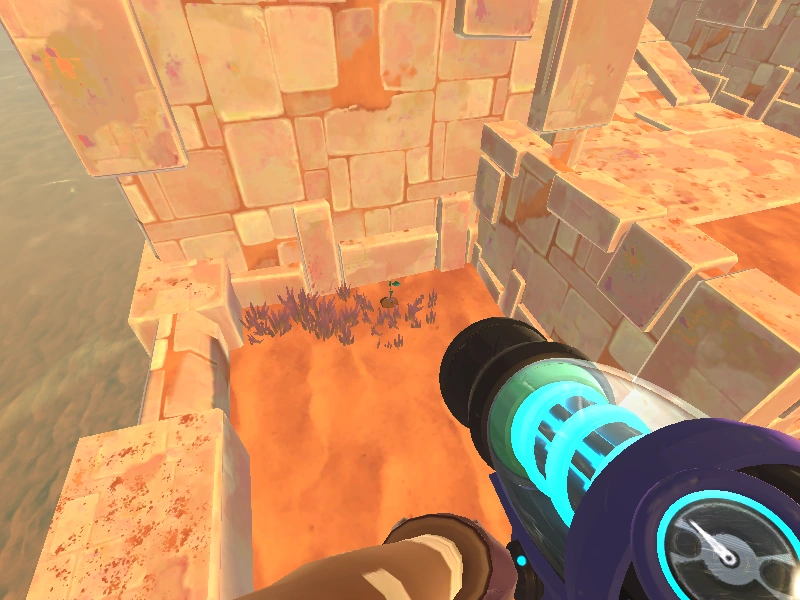
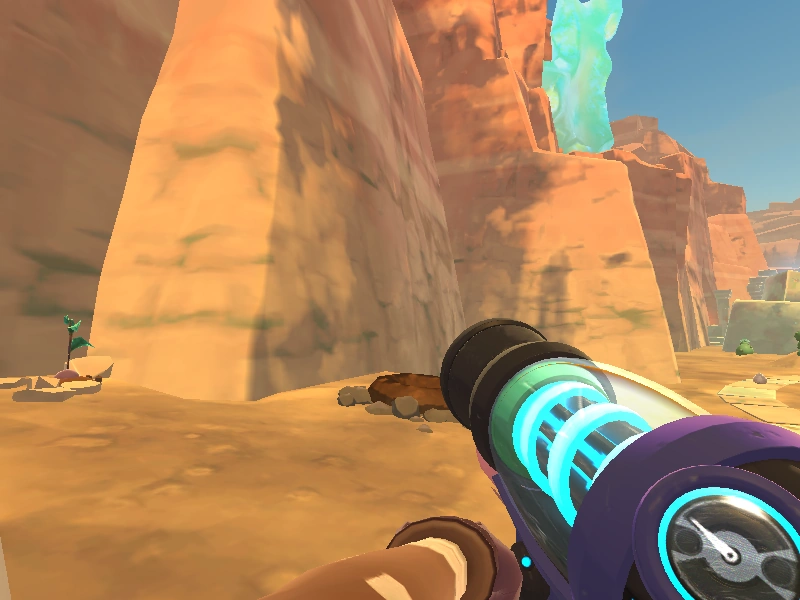
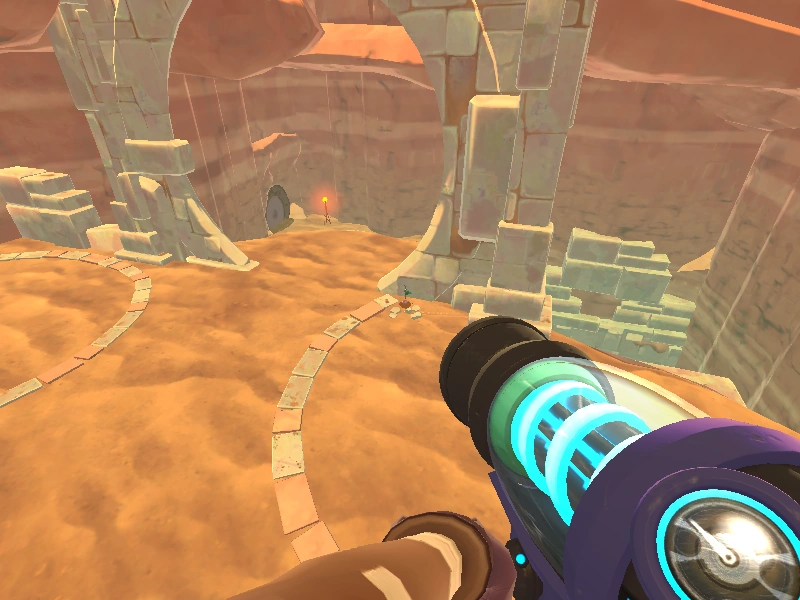
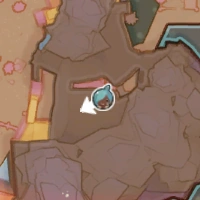
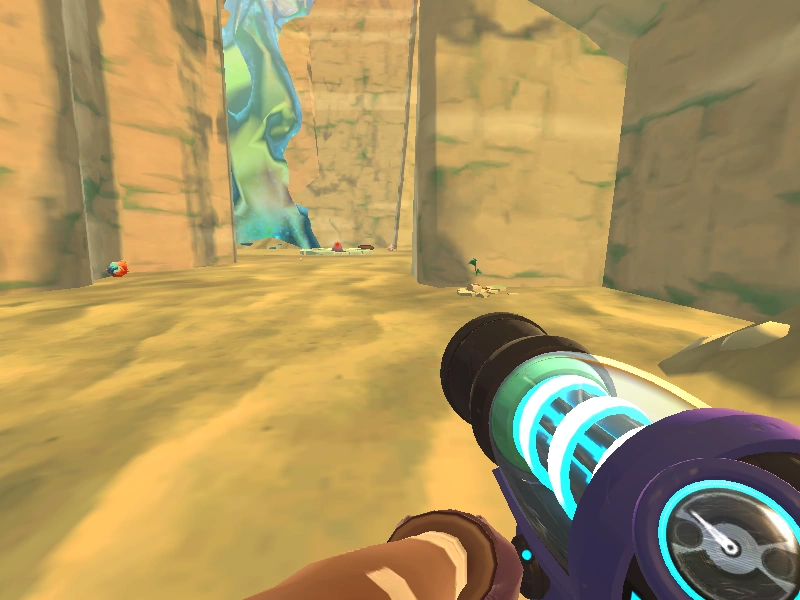
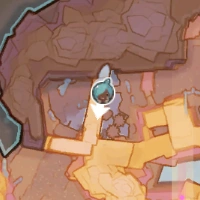
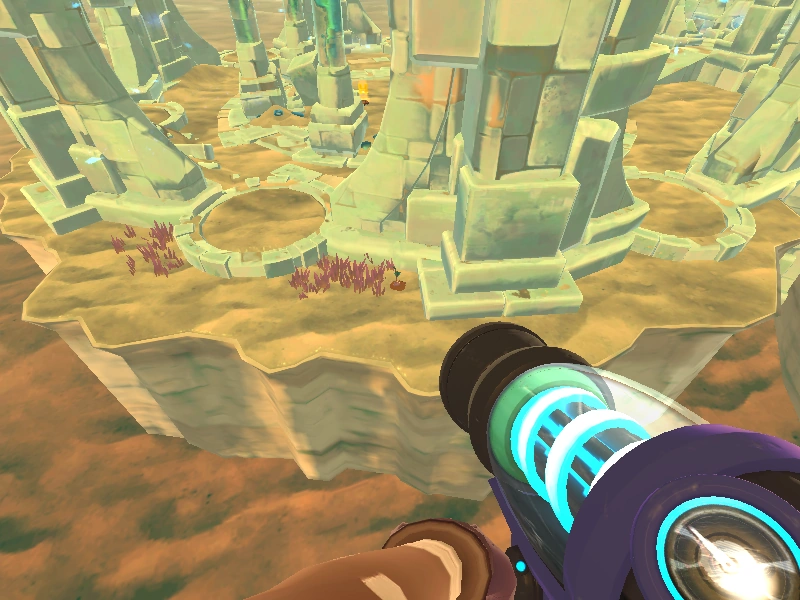
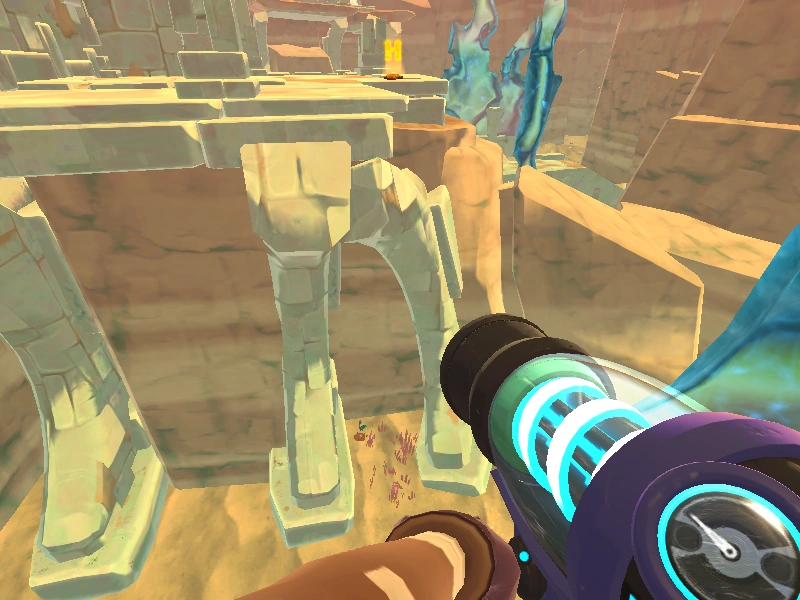
Glass Desert entrance
|
| |
|
| |
|
| |
|
| |

|
| |

|
| |
|
| |
|
| |
|
| |
|
| |
|
| |

|
| |
|
| |
|
| |

|
| |
|
| |
|

| |
|
| |
|
| |
|
|
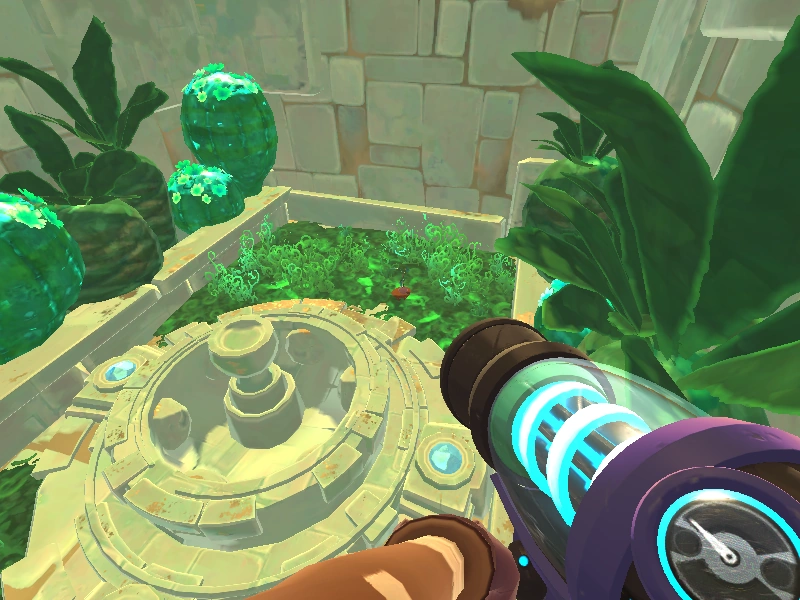
Tangle Gordo Tower Courtyard
|

| |
|
| |
|
| |
|
| |
|
| |
|
| |
|
| |
|
|
Miscellaneous
|
|
West Slime Gate
|
| |
|
| |
|
| |
|

| |
and #37 |
|
|
|
| |
|
| |
|
| |
|

|
Northern Glass Desert
|
| |
|
| |
|
| |
|
| |
|

| |
|
| |
|
| |
|
| |
|
| |
|

| |
|
| |
|
| |
|
| |
|
|
Behind the Mosaic Gordo
|
| |
|
| |
|
| |
|

|
East Slime Gate

|
| |
|
| |
|
| |
|
| |
|
| |
|
| |
|
| |
|
| |
|
| |
|
| |
|
|